
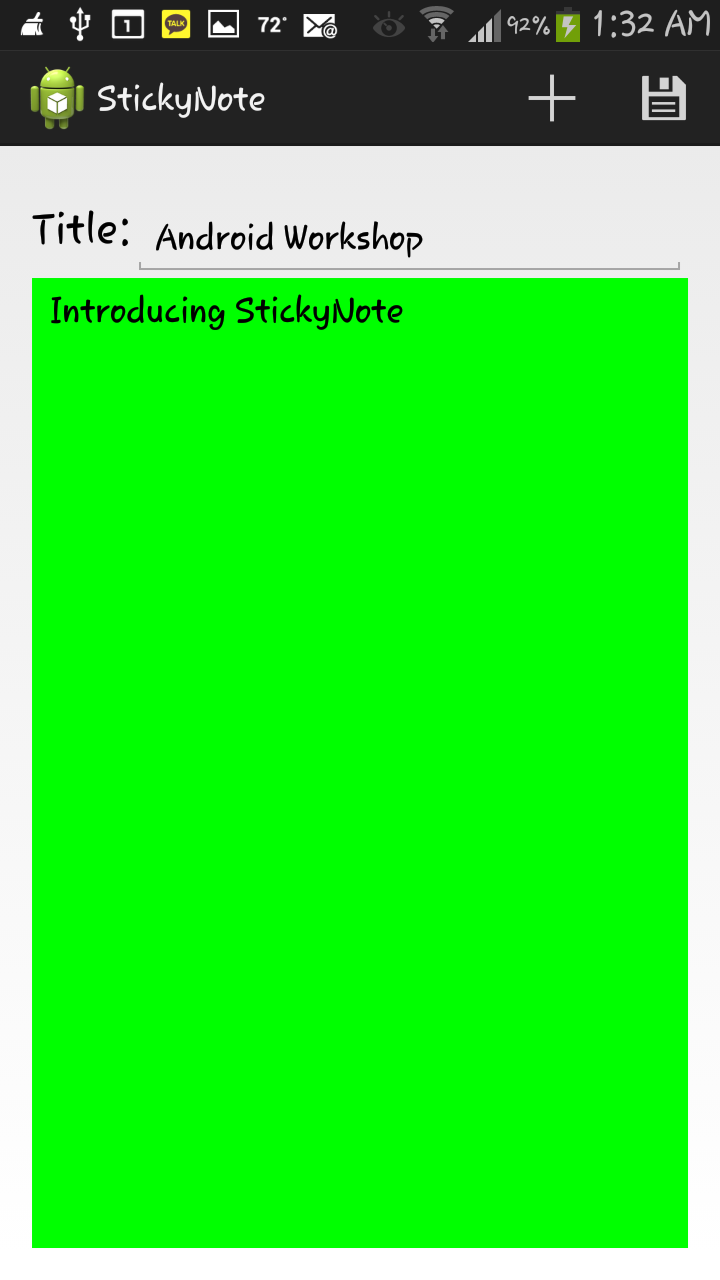
Okay so during the third week, I focused mainly on opening an already saved sticky, but I also worked on refactoring a lot of code, making a camera activity, and displaying icons. Continuing off from where I left from week 2, the first thing I did was move the save button from the menu to the action bar. This made it easier for the user to save instead of having to press the menu button and actually look for it. After moving it the top action bar, I had to actually implement the saving code. After hours of looking at sample code, I was able to figure out the process and make it save the sticky note, but right away I faced two problems. The first problem was that it was saving the contents of the sticky note but not the title. The second problem was that for every new sticky I saved, it was always overwriting the previous one instead of creating a new note. To start off, I had to make sure I was even saving the data to begin with, so instead of debugging the actual file directory, I decided to make a new activity where it will show every file in a list. After creating the list, I saw that there was only one item in the list, and it had a weird name. Once I found out what was causing the file name error, I figured out that I somehow had to link the text view holding the title to the edit text holding the message of the body. After trial and error, I was able to implement a way to save the title along with the message body into one file whose name was a copy of the title along with its extension of “.txt”.
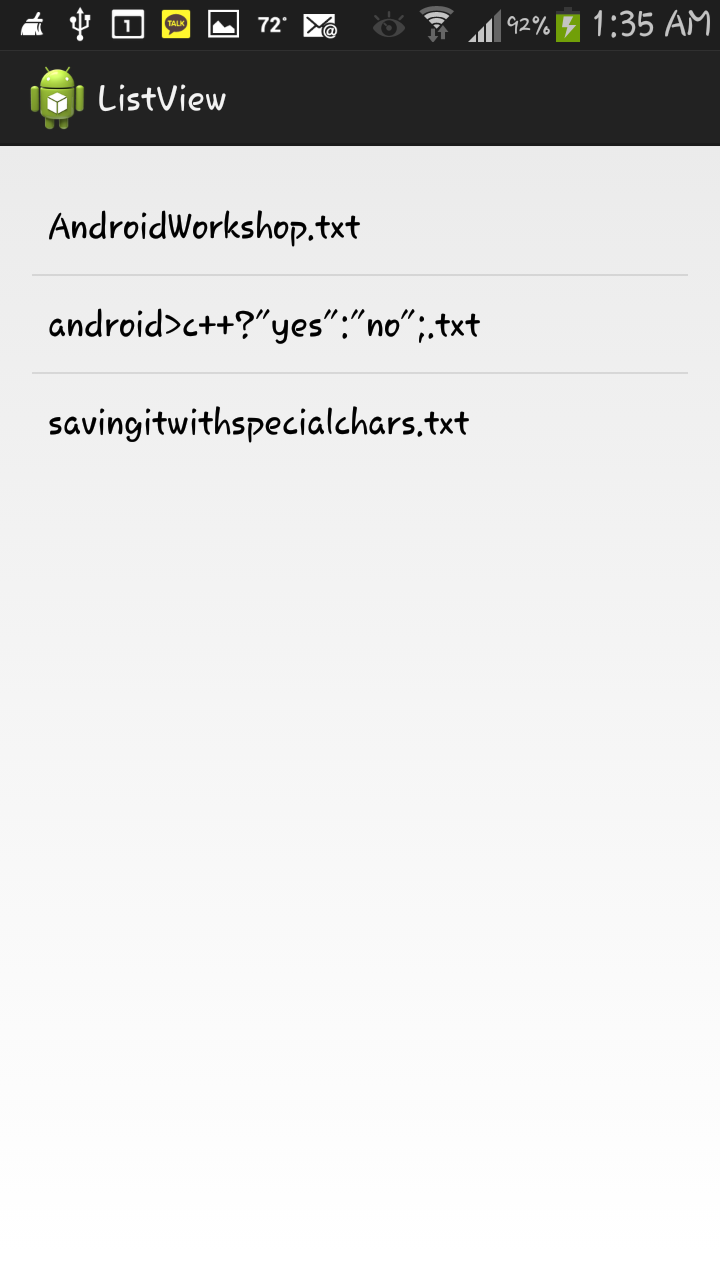
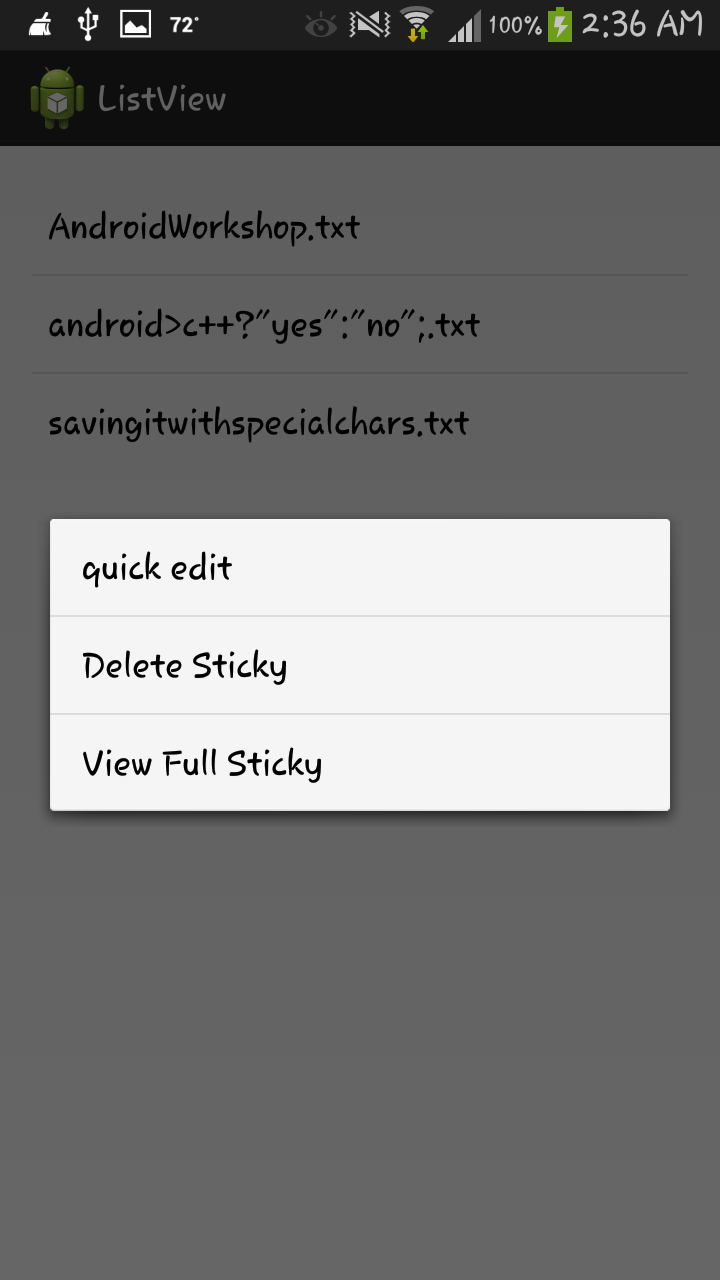
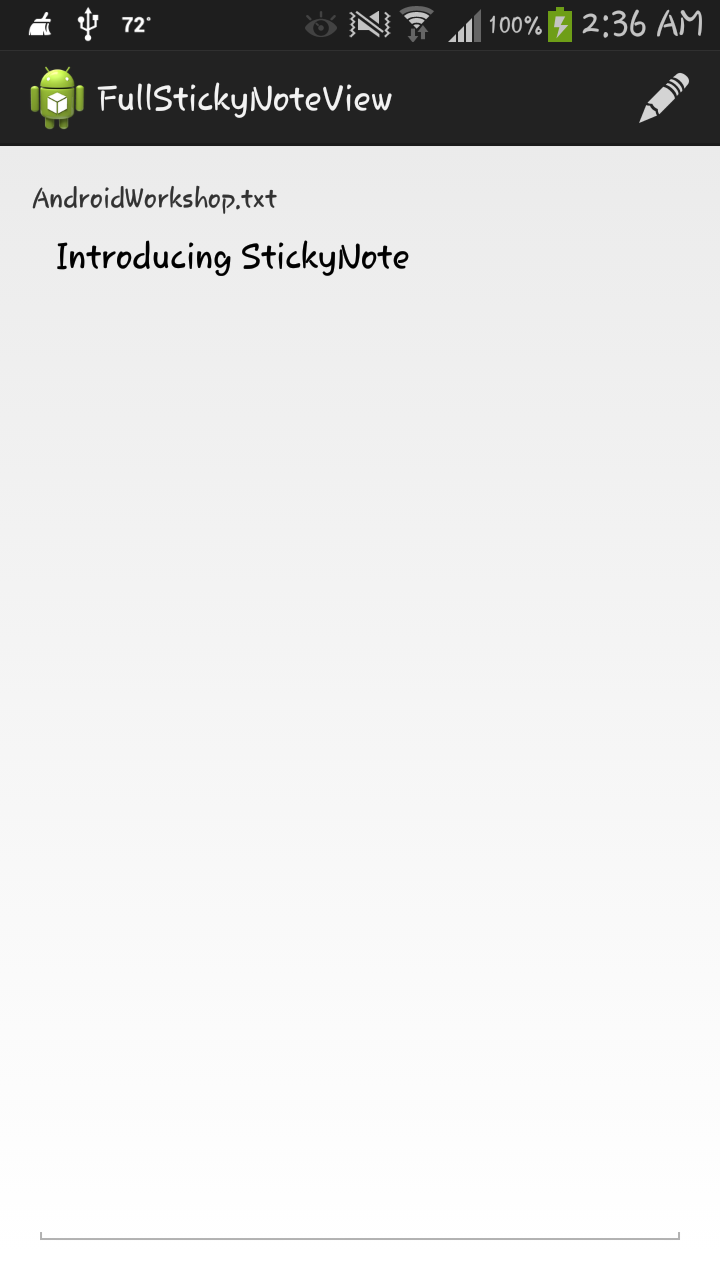
Okay, I finally had the list view working along with the saving, so it was time to add some functionality! In response to this, I decided to add an activity which just loads the note as well as a contextual menu to every single list item, which will have the options of editing the name, deleting that individual note and a third option just as a placeholder until future ideas are discovered. The new activity and the quick editing was quite easy, all I had to do was directly access that specific item and change it’s attributes; however, the deleting part was on a whole different level. At first when I deleted an item from the list view, I got extremely happy. I got that feeling of accomplishment when you know you just did something great. The fact that I was able to delete an item from the list view by myself just by poking around with the methods in android, felt amazing…or so I thought. Right after deleting the item I discovered a huge error by accident. Every time I pressed the back button or did anything to change activities and then went back to the list by pressing “open” from the menu, the file I thought I deleted was still there! In the beginning, I thought it was just a glitch, but after re-running the program a few times and repeating the same process, I confirmed that the problem was that I was just REMOVING the file from the list not DELETING the file from the phone’s storage! The deletion process was quite similar to the saving process, so it wasn’t all that difficult, but I didn’t want to take anything for granted.
After discovering such an error, I decided to run the app on a different android phone. As soon as I pressed the open option and I long pressed on an item to make the contexual menu show up, and it crashed.
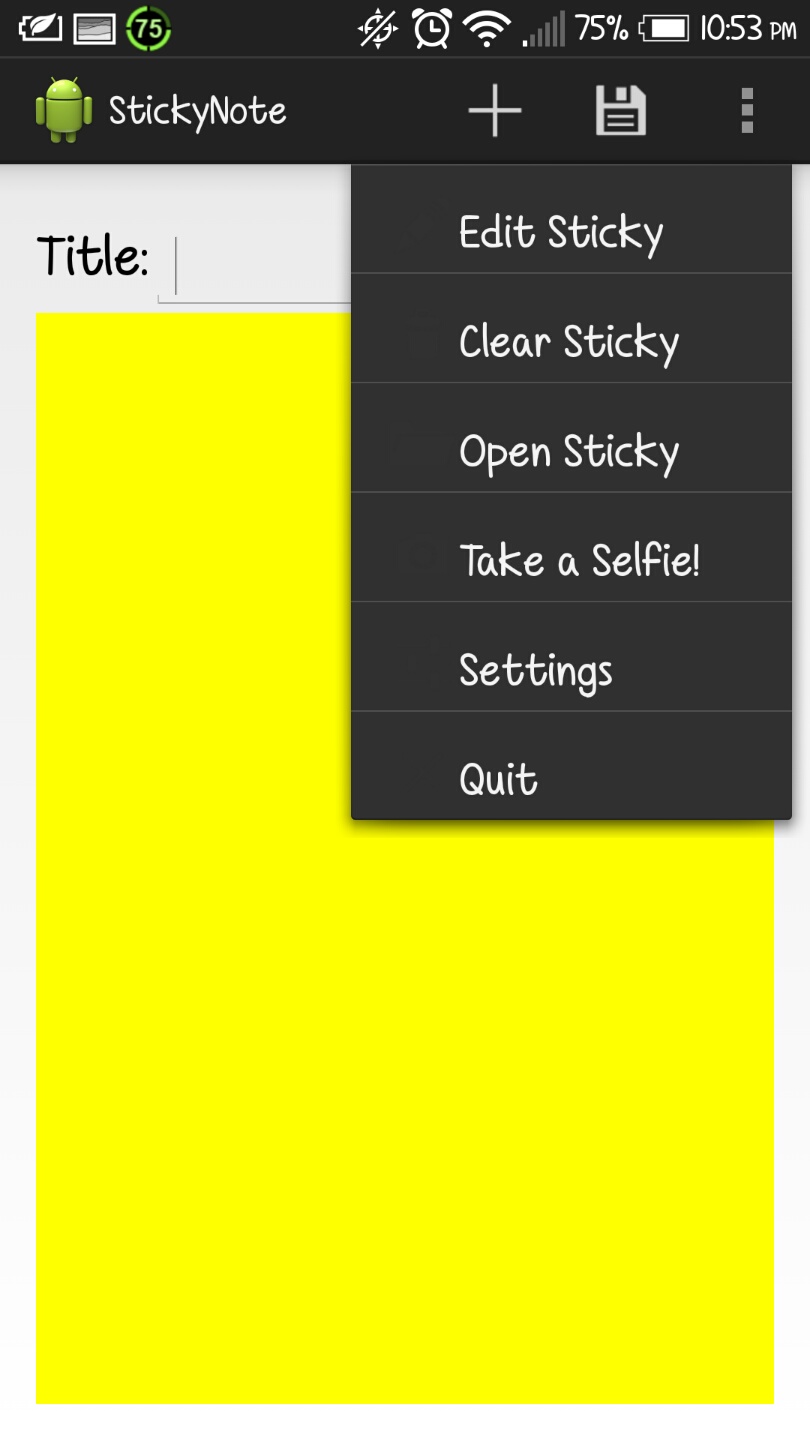
 After seeing how the icons weren’t showing up and putting logs everywhere to debug the program, I figured out the problem. The problem was the icons I had. The way I had my program set up was that I created the icons according to my device every time the menu was pressed, but what I really had to do was move the icons to part of the lifecycle events and then dynamically change the color of the icons depending on the theme. As soon as I did this the error went away and I was finally able to focus on implementing the camera functionality. The hint that led to the solution can be seen in the pic below:
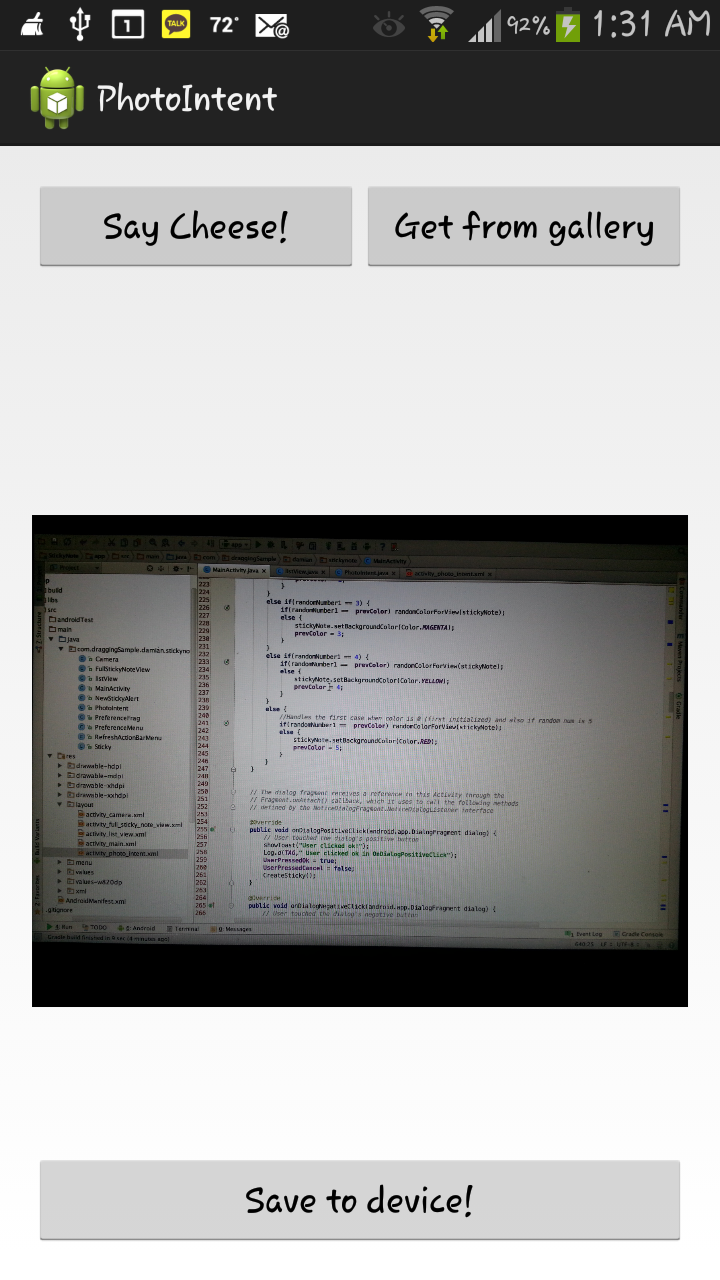
 After spending quite some time with the camera and its methods I came to the conclusion that my app really had no use for it, but just for the heck of it, I decided to mess with it a little bit. I already knew that an actual good app gives the option of choosing from the gallery or actually taking a picture, so I decided to do the same. One thing is saying something and another is doing it, but after I read up about it online, I was immediately lost. The code was crazy, the concepts were abstract, vague and hard to understand, and the transition between the camera and the actual activity has to be monitored in different parts of the program since it highly affected by the life cycle events. After realizing that going into all of that was overkill since I really had no use for it in my app, I decided to just try to learn the basics just in case somewhere along the future the necessity of needing to incorporate a camera into my app won’t be tremendously hard. I then started messing around with buttons, image scaling, uri’s and file paths until I had a good understanding of the basics for each concept. The finished product of how I designed this activity can be found below:
 And thats it! That’s all I had time for in week 3. Week 4 will hopefully be about incorporating wifi direct into my app so I can exchange data with other people! This ought to be very interesting.